
Happy New Year everyone! 🙂

Last week, I decided to spoil myself to an extravagant, over-the-top 3 tiered cake for my birthday this year. I don’t usually make cakes; honestly, I’m more of a fan of French pastries like double-baked almond croissants and macarons. However, I came across fellow Vancouverite Coco Cake Land’s cake and I was immediately hooked! Both her and Katherine Sabbath are bakers that we follow on Instagram who create unique and stylized cakes that are one-of-a-kind. I wanted to feature this cake because it’s a very visual, youthful and eye-popping cake which made me super duper happy to bake and eat!


Wishing you an amazing year of good vibes, yummy eats, and a healthy journey ahead!
See y’all in 2015,
-matchachoco

Vanilla Layer Cake (makes three 6-inch x 2-inch round cake layers)
Adapted from Smitten Kitchen
Ingredients
2 cups cake flour
2 cups all-purpose flour
2 tsp baking powder
1 1/2 tsp baking soda
1 tsp salt
1 cup of unsalted butter, room temperature
1 3/4 cups of sugar
2 tsp. pure vanilla extract
4 large eggs, room temperature
2 cups buttermilk (I used 1 ¾ cups of 2% milk with 3 tbsp. of fresh lemon juice)
Directions
- Preheat oven to 350°F.
- Butter all sides of three 6-inch round cake pans generously and line only bottoms with parchment paper.
- Prepare “buttermilk” by adding fresh lemon juice to the milk. Stir to combine and set aside for 15 minutes.
- Sift together both all-purpose and cake flours, baking powder, baking soda, and salt in a medium bowl.
- In a large bowl, beat butter and sugar in a large bowl with an electric mixer at medium speed until pale and fluffy, then beat in vanilla.
- Add eggs one at a time, beating well and scraping down the bowl after each addition.
- At low speed, beat in the milk mixture and add in the flour mixture, alternating with dry and wet mixtures (ending with the dry). Mix until just incorporated.
- Pour batter in each pan (half way) and spread evenly with a spatula. Drop pan on counter several times to eliminate air bubbles.
- Bake for approximately 25-30 minutes, until the cakes are golden brown and test doneness with a toothpick . Make sure there are no crumbs on the toothpick (a denser cake is desired for clean cutting).
- Cool in the pans for 10 minutes, then run a knife around the edge of the pans.
- Invert onto separate plates to cool and set aside the layers of cakes.
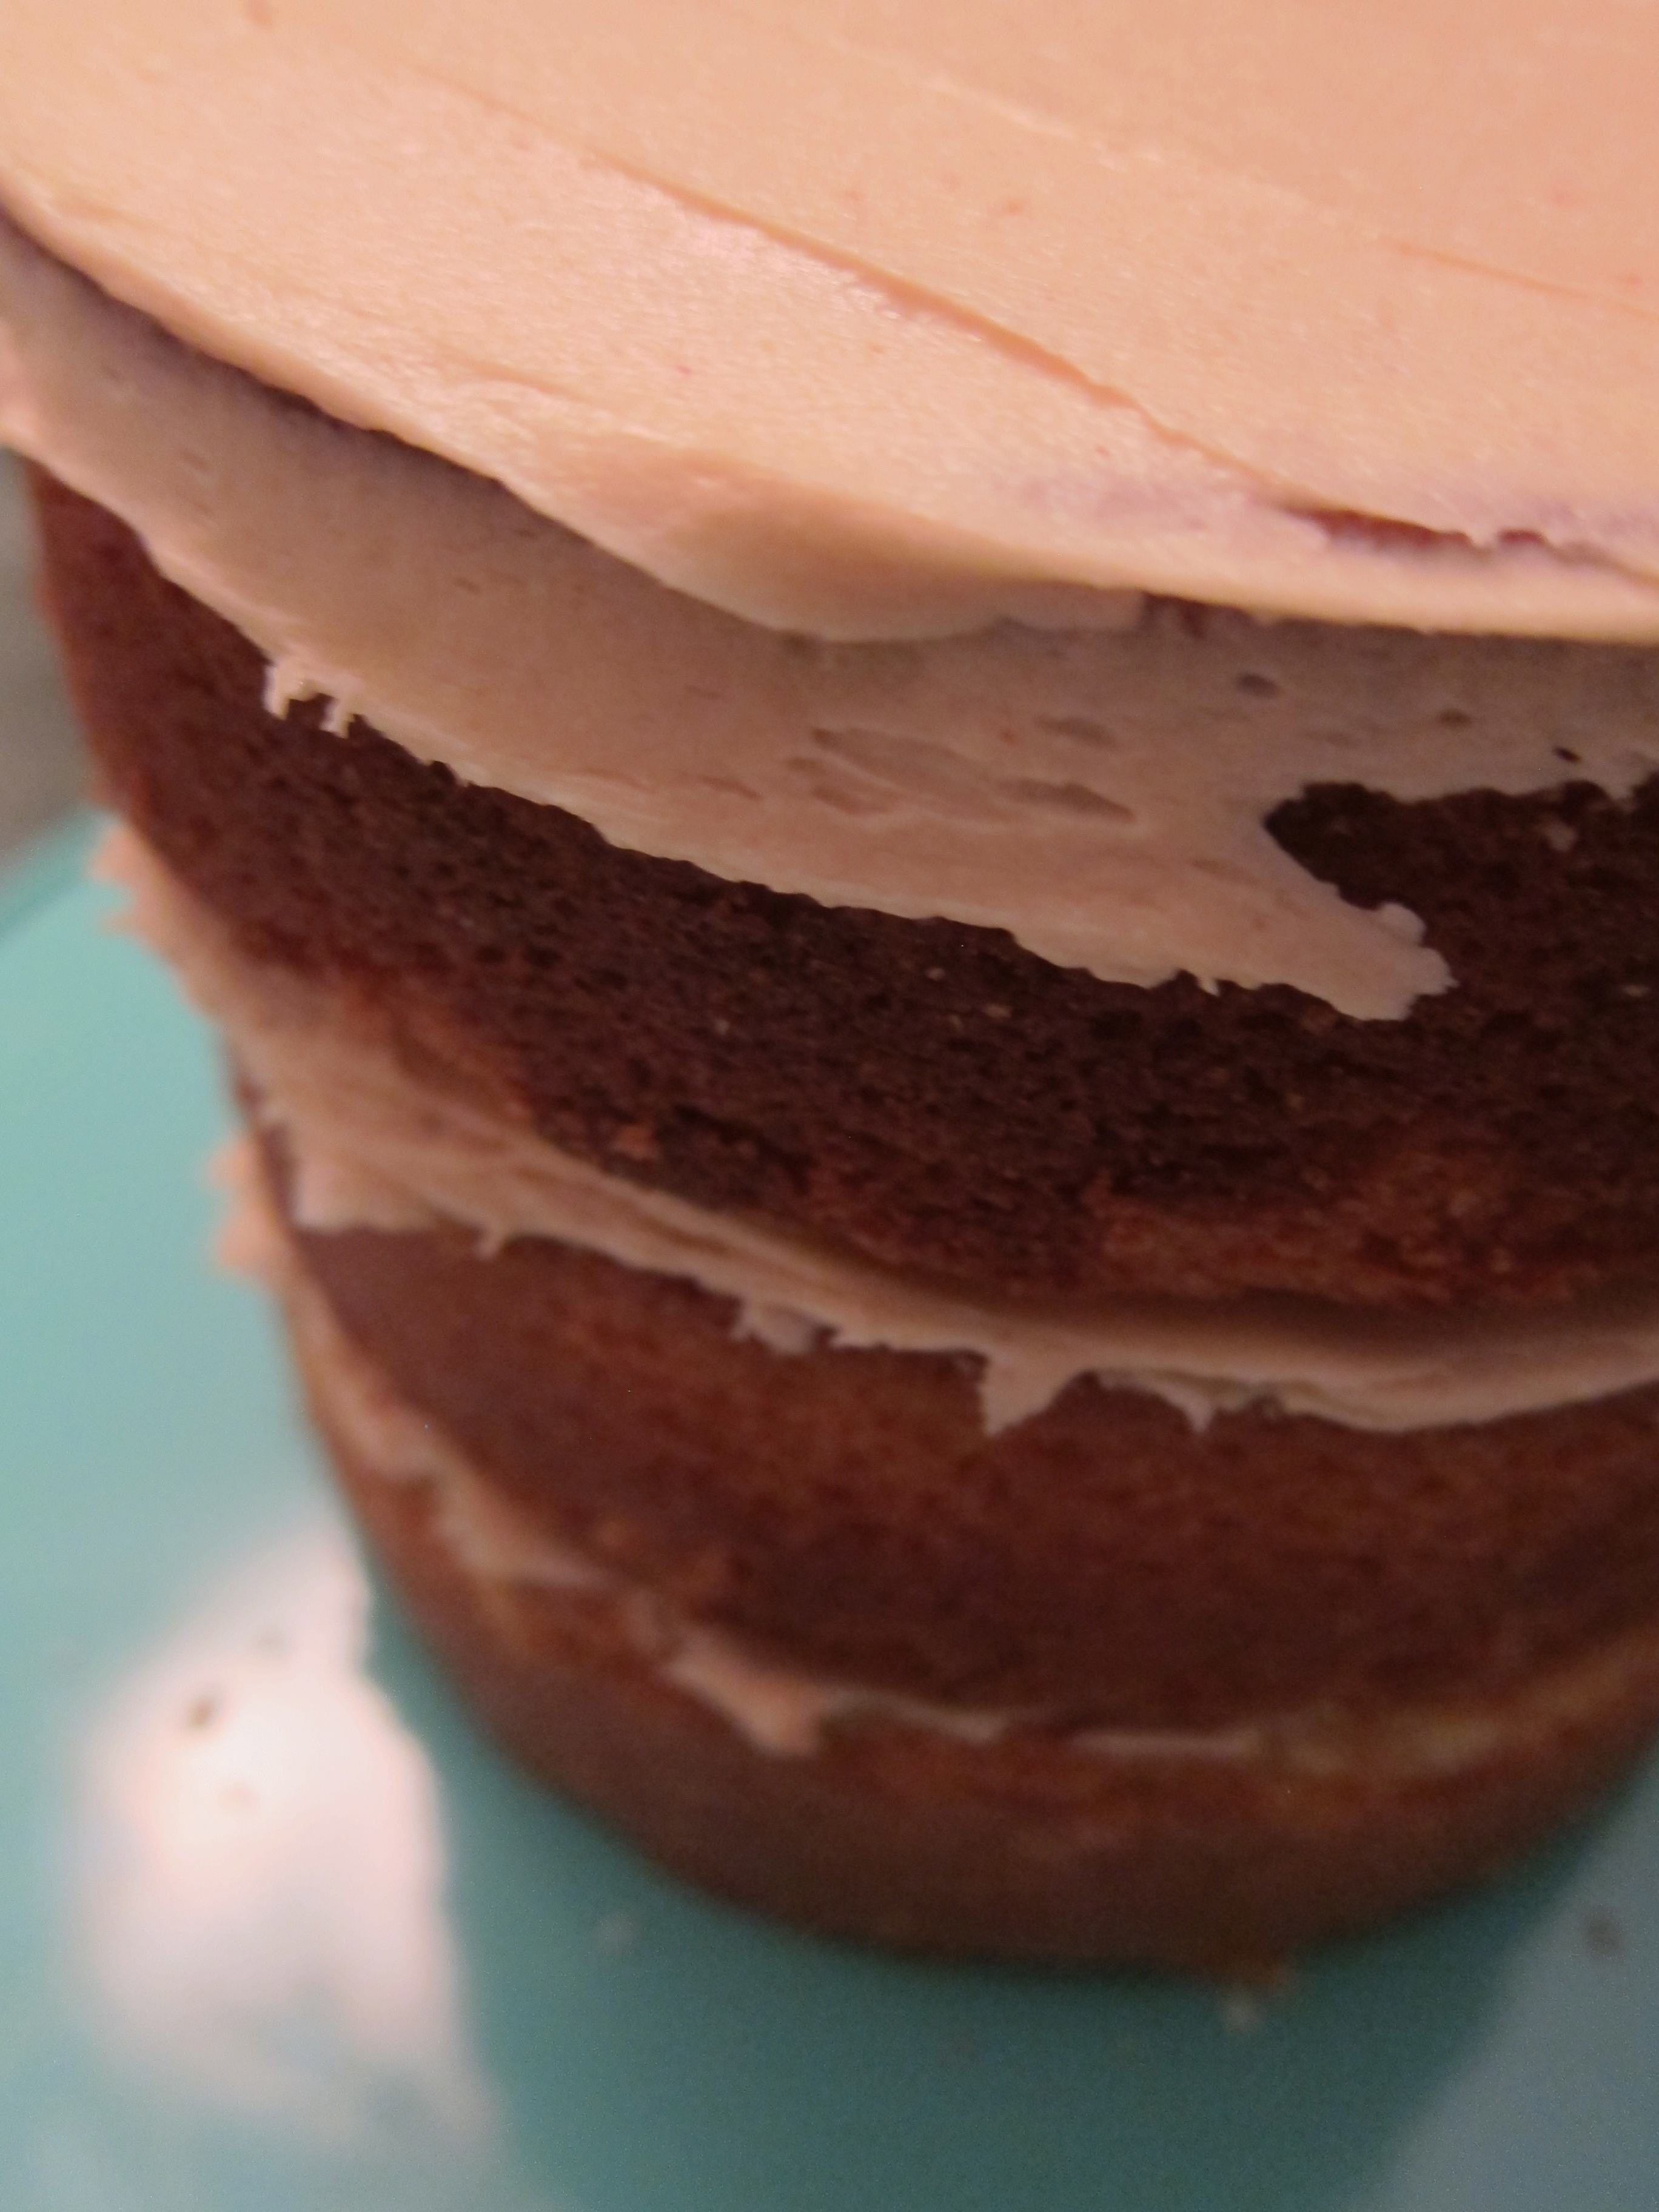
Peanut Butter Frosting (makes enough for one – 3 layer cake)
Adapted from Coco Cake Land
Ingredients
1 cup unsalted butter, room temperature
1 cup of smooth peanut butter
2 cups of icing sugar, sifted
1 tsp. pure vanilla extract
2 tbsp. of milk
Pinch of salt
Directions
1. Using a stand or hand-held mixer, beat the butter and peanut butter on high speed for 1 minute.
2. Add the icing sugar, vanilla , salt and milk, beating until light and fluffy, about 3 minute.
3. Remove the first cake layer from the cake pan. Frost generously with peanut butter frosting. (Repeat for 2nd and 3rd layers).
4. Spread the frosting on the outer sides and smooth out the entire cake with an offset spatula.

Chocolate Glaze
Adapted from Coco Cake Land
Ingredients
½ cup dark chocolate, broken into pieces (I used Trader Joe’s 70% cacao Dark Chocolate bars)
¼ cup unsalted butter, diced
1/8 tsp of pure vanilla extract
1 tsp of whole milk
Directions
1. Fill a small pot with water and boil. Place the butter, chocolate, and vanilla in a heatproof glass bowl on top of the pot. Stir slowly until melted. Remove from stove and slowly stir in the milk (try to avoid curdling).
2. Set aside to cool for 20 minutes.
3. Pour glaze on top of the peanut butter frosting. With the assistance of an offset spatula, spread glaze to the edges of the cake and slowly let the chocolate drip on only a few sides of the cake.
4. Let cake set for 20 minutes.
5. Decorate the cake with meringue kisses, chocolate bark or sprinkles.
6. Serve immediately or cover and wrap the cake in saran wrap to prevent drying up in the refrigerator.
For the pretty chocolate bark decorations and cute meringue kisses, follow Coco Cake Land’s easy peasy recipes here and here!


Oh wow it looks so beautiful and delicious!! ❤
Thanks, really had a blast making it!
Happy belated birthday by the way 🙂
aw thanks! 🙂
Pingback: Our Year in Review (2014) | Underground Culinary Lab
Gah I want to eat it all over again!! You rocked this cake… YUM! xo
Thanks Lyndsay for commenting on our blog! We love your creations – it was a pleasure to make this pretty cake!
PS – you’re canadian too!! how fun! ^__^
Yes! We’re two bloggers from Toronto and Vancouver 🙂